
Guest Post: My DIY Wedding
Posted: December 14, 2010
Well, not MY DIY wedding, but Jessica’s. Jessica, AKA, “The Juice’, won the ticket to Unique L.A. that I gave away last week, and she writes a fabulous blog of her own, Love it Or Leave It. You can also follow her on twitter @thelittlefella.
I’ve been engaged for just under 10 months now and I’ve just finally started my DIY projects. Despite this relatively late start we are taking on some substantial projects including our website, invitations and thank you cards, favors, and centerpieces. We have made progress on 3 of the 5 of these tasks and with 3 months until the big day I’m feeling fairly confident that we’ll be able to get them all done, but just for some peace of mind I’ve also chosen to DIY things that are either needed far in advance or can be changed last minute if plans don’t work out. Wedding planning already requires so much time and with most of it being done after work and on weekends it can leave little time for many additional projects, but here’s my tips to DIY-ing a wedding : DIY Tip #1: Only take on projects that you are confident about doing or are okay with it not being perfect. This past Thursday we took on screenprinting our invitations using the ever-popular Gocco machine. It required printing out 100 invitations on the color printer and then, with a couple of baited breaths, starting the screen-printing process. Not all 100 came out perfect, but there are enough good ones to make sure all of my friends and family that would notice can get a near perfect one and everyone else will hopefully be charmed by the DIY effect.
Tip #2: DIY is best handled as a team. I am lucky to have a fiancé that enjoys trying things on our own and a maid of honor willing to lend a hand and an artistic eye. The invitations took a little over 2 hours to do, because three people were on the job. We had one person screen-printing, another monitoring the color printer and the third placing them in the drying racks. This job would have been significantly longer and less pleasant had it been done on my own.
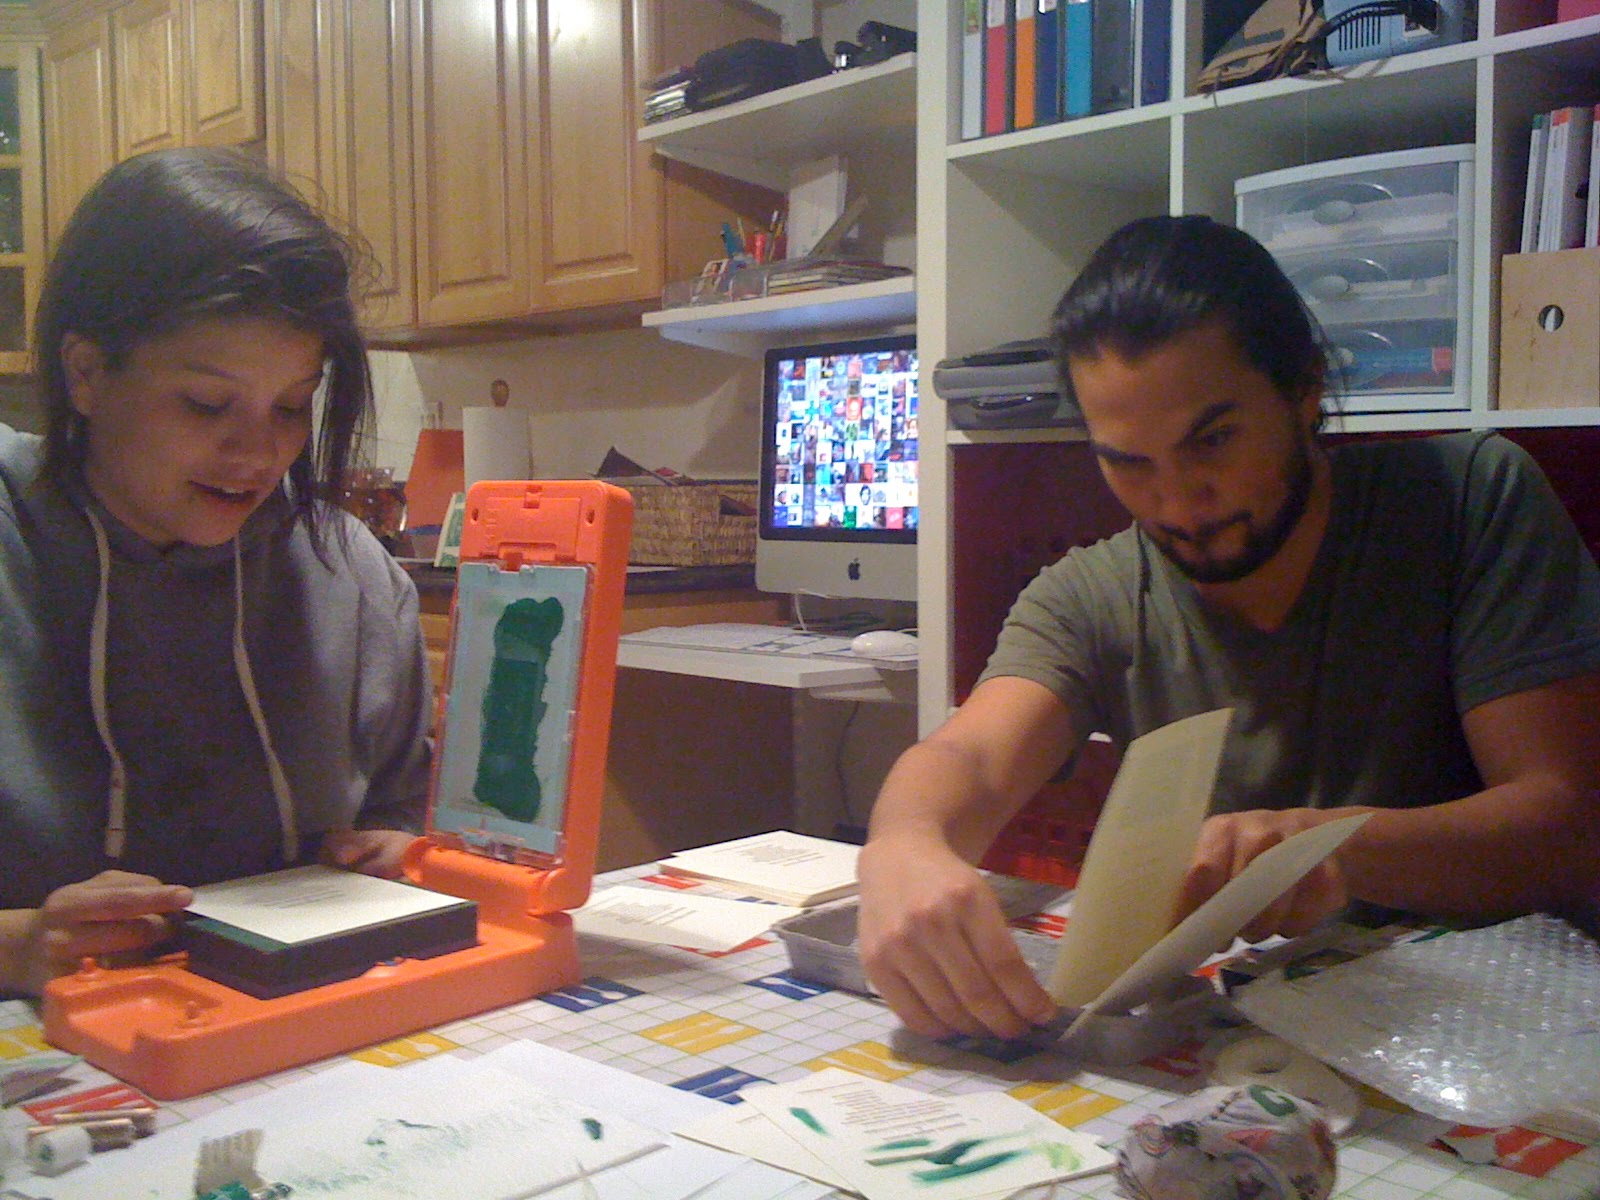 Photo caption: Team members hard at work!
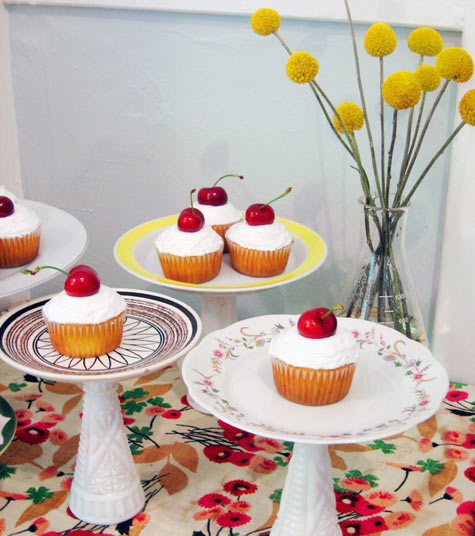 Tip #3: Sometimes DIY will be more expensive than buying, but might be worth it when there is not a suitable ready made option available. We are having cupcakes instead of cake at the reception and placing them at each table on cake stands as sort of edible centerpieces. When I first started looking at cake stands online and at the usual list of options: Goodwill, IKEA, Target, etc. I could not find a cake stand that was in my price range and not overly generic. Then I googled “DIY cake stands” and up came Design Sponge. Now the challenge will be finding candlesticks and plates to make my own cake stands, and I’m pretty sure it will end up costing more than if I had just gone with the basic IKEA stand. Luckily, I have also identified a reliable readymade option in case my DIY plans fall short.
Tip #4: Make samples before going full steam ahead. This might not be necessary with smaller DIY projects, but can be helpful when trying to gauge difficulty level and time commitment. When I decided I wanted to make pint glasses with chalkboard name tags as favors I started first with a sample of six before going out to buy the 200 I need to make.
I have been lucky – so far as my DIY projects have turned out just as I had imagined. But as the big day gets closer I’ll have to try to keep an open mind, because no one will care much for the DIY elements if the bride looks like she just put herself through a couple of months of stressful projects!
Ready to get started? Tell me more about you and your wedding.